


Reconnaissance and attack surface discovery are the first steps in any penetration testing process. Testers gather information about the target system, identify potential entry points, and map out the external attack surface. This information is crucial for understanding the target environment and planning subsequent testing activities.
This guide will demonstrate how to quickly build an attack surface of any size using the Netlas Attack Surface Discovery Tool and Netlas Search Tools.
Netlas Attack Surface Discovery Tool is an intuitive tool designed for building and visualizing attack surfaces. With it, you can quickly generate an attack surface of any size. Users can add or remove objects and instantly see all the connections between them. Its user-friendly graphical interface makes the attack surface easy to understand.
Netlas Search Tools are a comprehensive suite of tools offered by Netlas. They enable users to search through billions of DNS records and certificates, investigate any IP address in the WHOIS database, and retrieve responses for hundreds of millions of hosts. For more detailed information on how to use Netlas Search Tools, please refer to the documentation.
Steps for Building an Attack Surface:
- Search for root domains using Domain WHOIS Lookups.
- Search for IP ranges using IP WHOIS Lookups.
- Subdomain enumeration.
- Forward and Reverse DNS Lookups.
- Vertical expansion.
- Results analysis.
- Search for Unlinked Resources.
Step 1: Root Domains
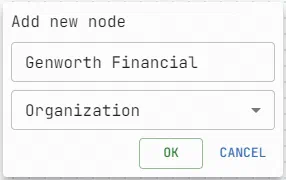
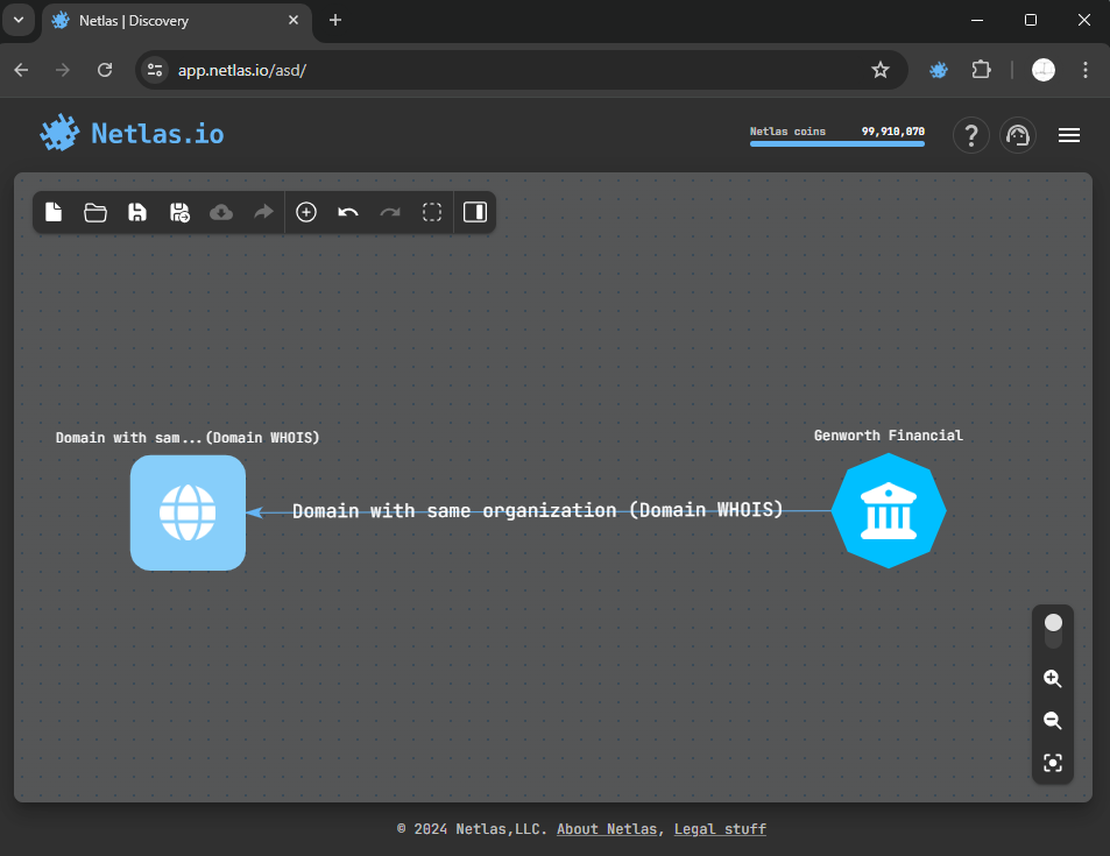
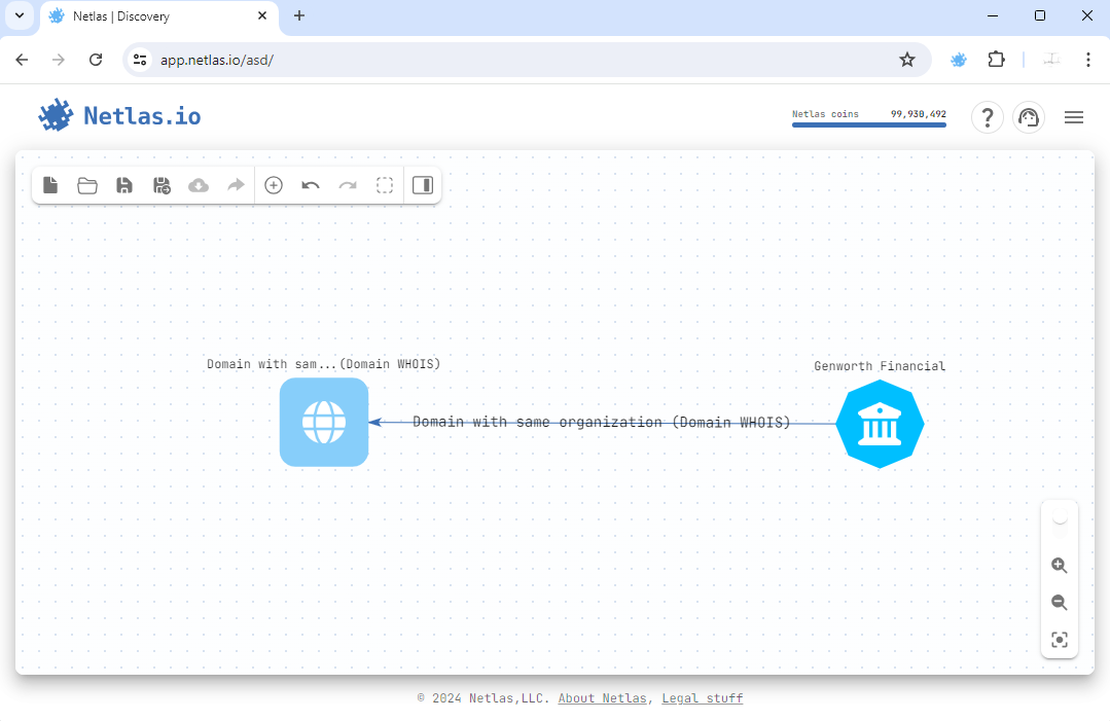
Open the Attack Surface Discovery Tool and create an “Organization” node. Click on it to see possible search options.

If the organization’s name is not clear, but one of its domains is available, this information can be used. Add a node with type domain to the attack surface and make “Organization from WHOIS” search from it.
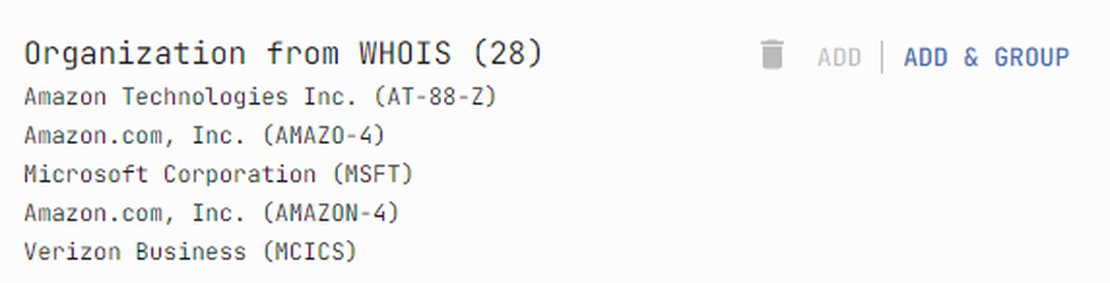
With a list of organization names, start horizontal expansion from the initial node. Click on the node and select “Domain with same organization” to proceed.
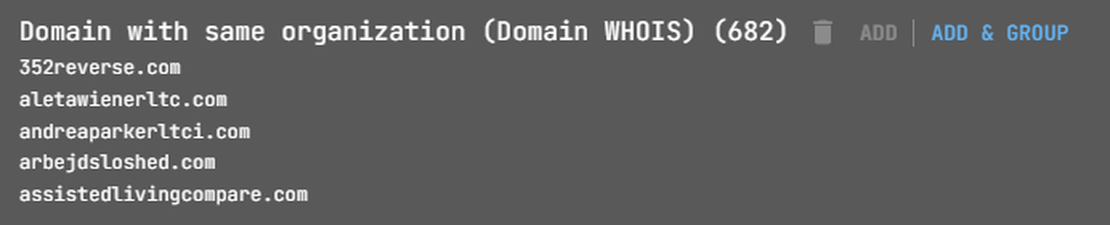
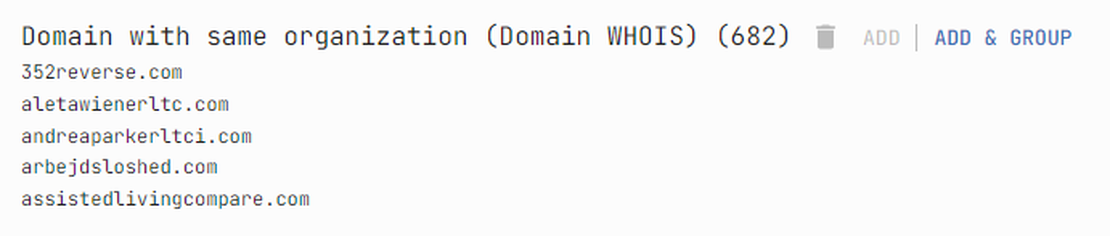
This action will add a group containing the root domains associated with the selected organization.
You can view the list of founded domains from the context menu.
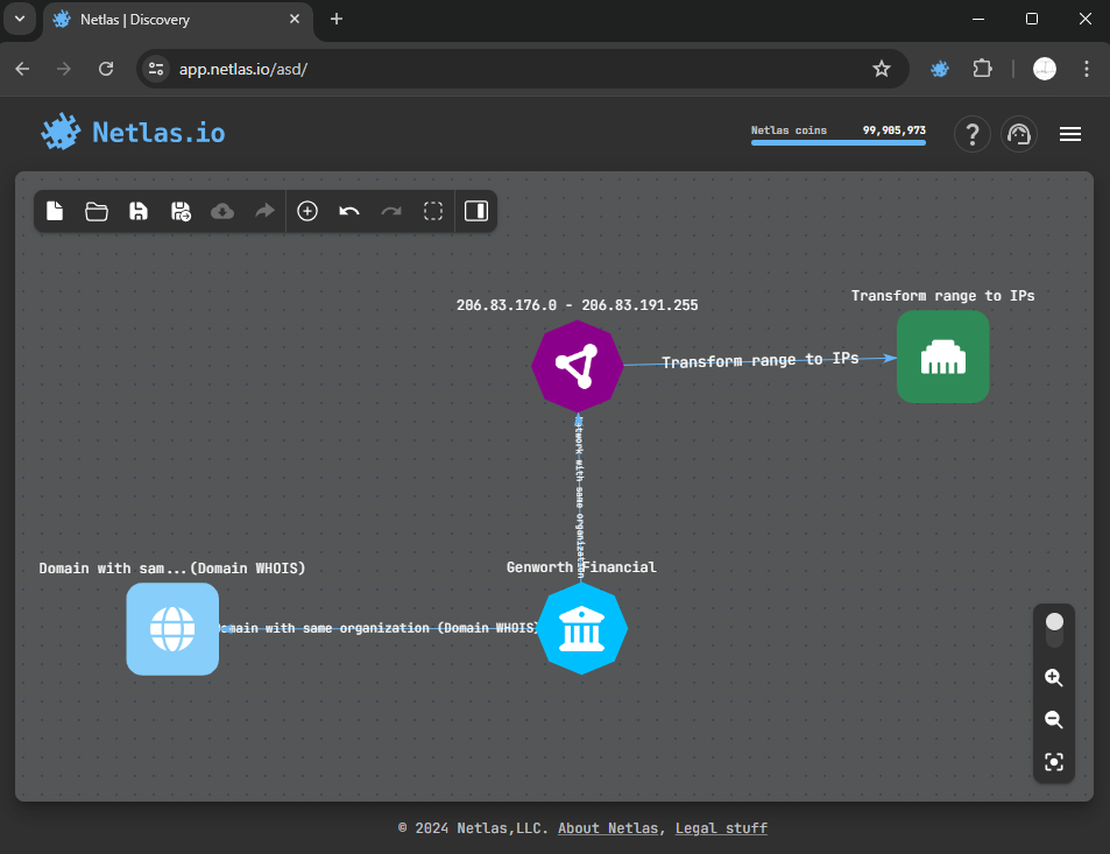
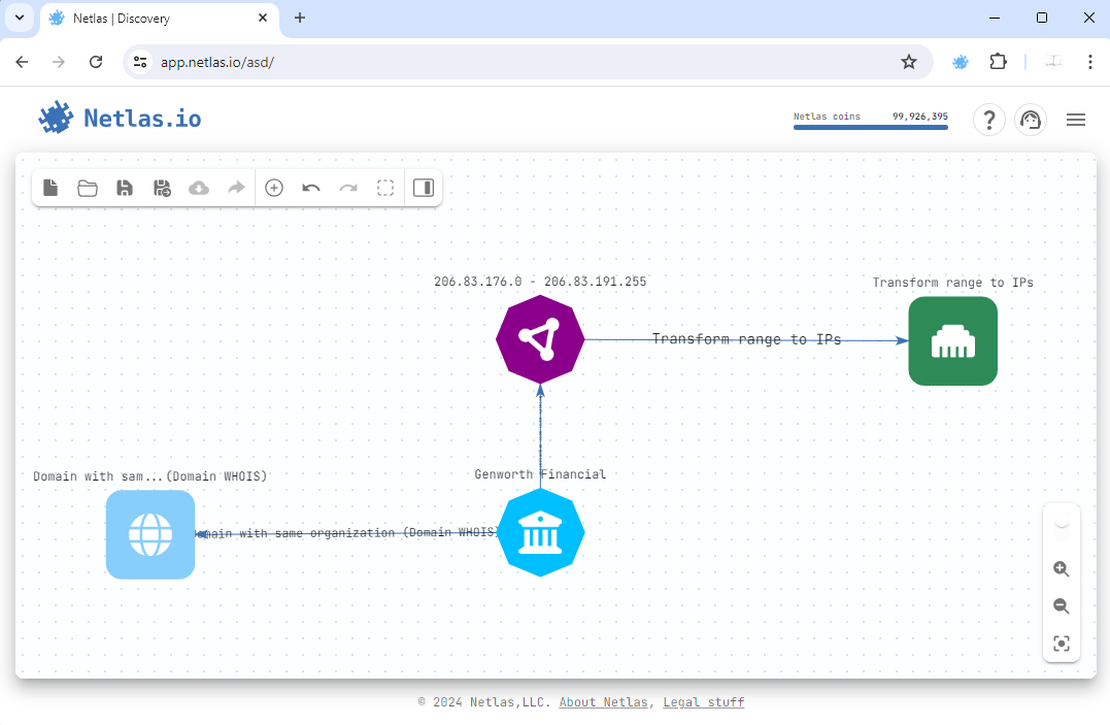
Step 2: IP ranges
Next, search for subnets linked to the target company. Use a similar approach to discover these IP addresses. If a company name is associated with any ranges, the corresponding search will be available by clicking on the organization node.


By adding a subnet and transforming it into IP addresses, the attack surface is enhanced. The transform to IPs here is optional, but generally Discovery Tool has more search options for individual addresses compared to ranges.
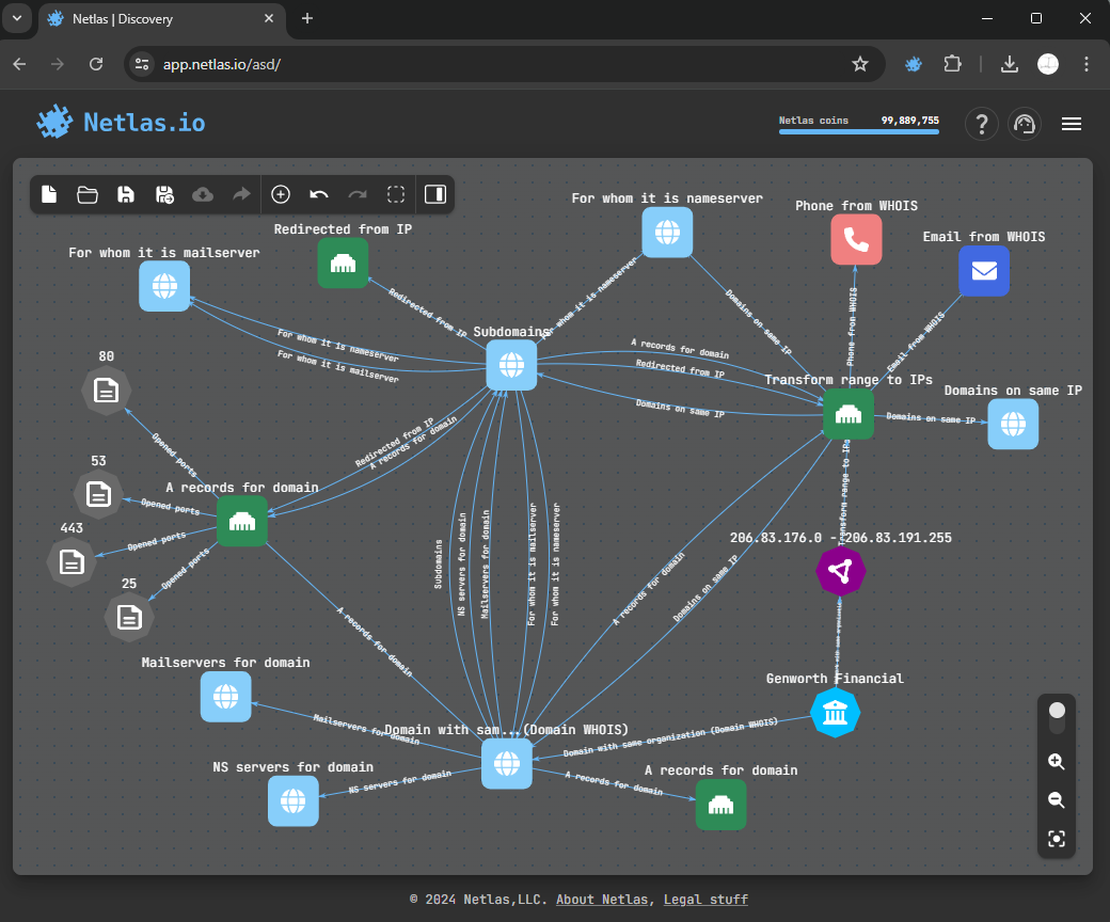
Step 3: Subdomains
Subdomain enumeration helps identify hidden parts of the attack surface. In the Netlas Discovery Tool, perform a subdomain search by clicking on the group of founded domains.

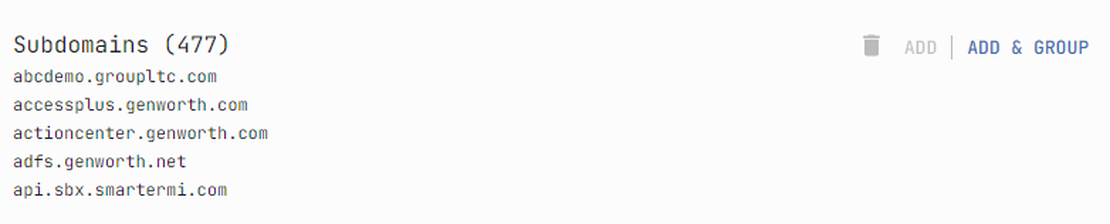
After completing the subdomain search, new group representing subdomains will be added to the attack surface map.
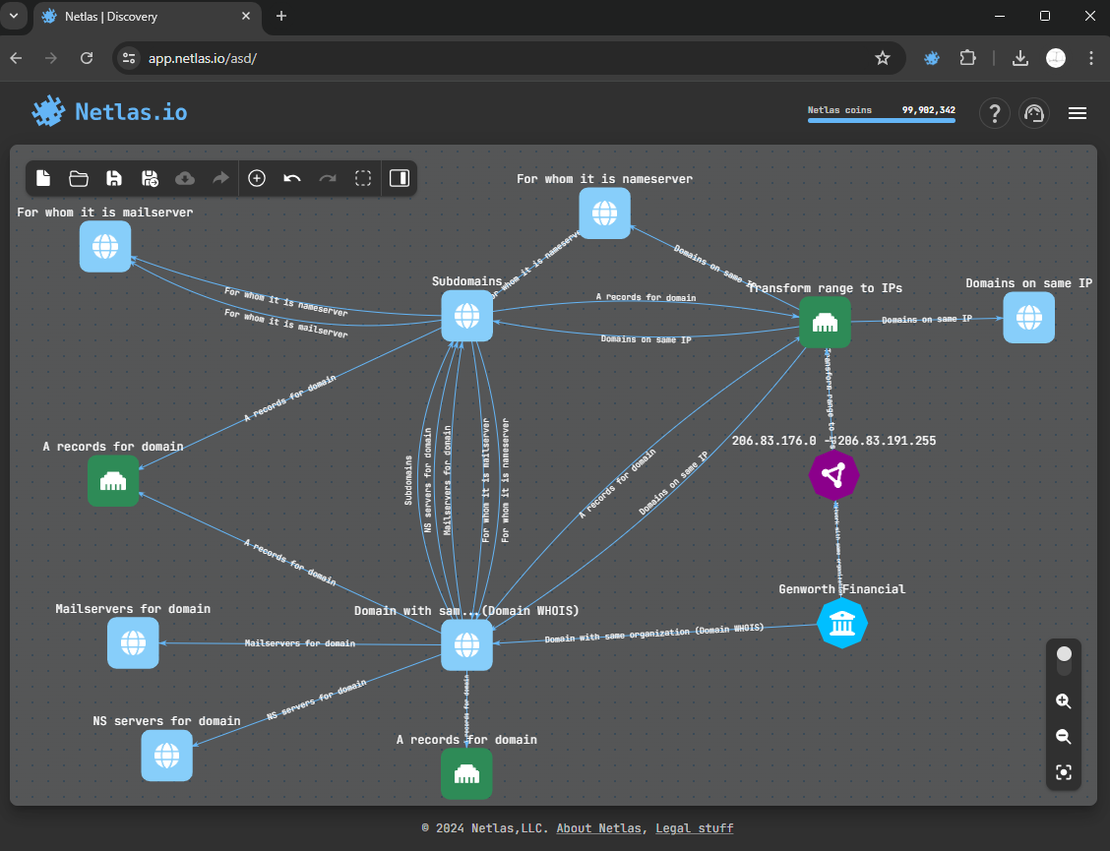
Step 4: Forward and Reverse DNS Lookups
The next crucial step is analyzing DNS records.
By clicking on a single domain node or a group of domains, choose “A records for domain” search. This will give you a list of IP addresses corresponding to source list of domains (subdomains).
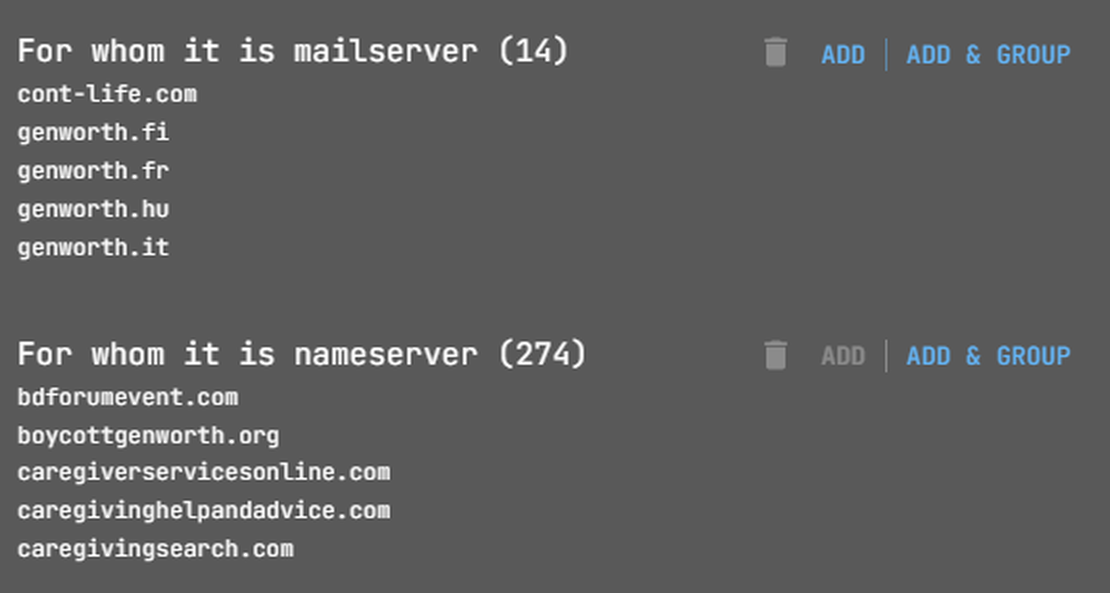
The next important record is MX. Use the search “Mailservers for domain”.


After this, it is worth studying NS records.


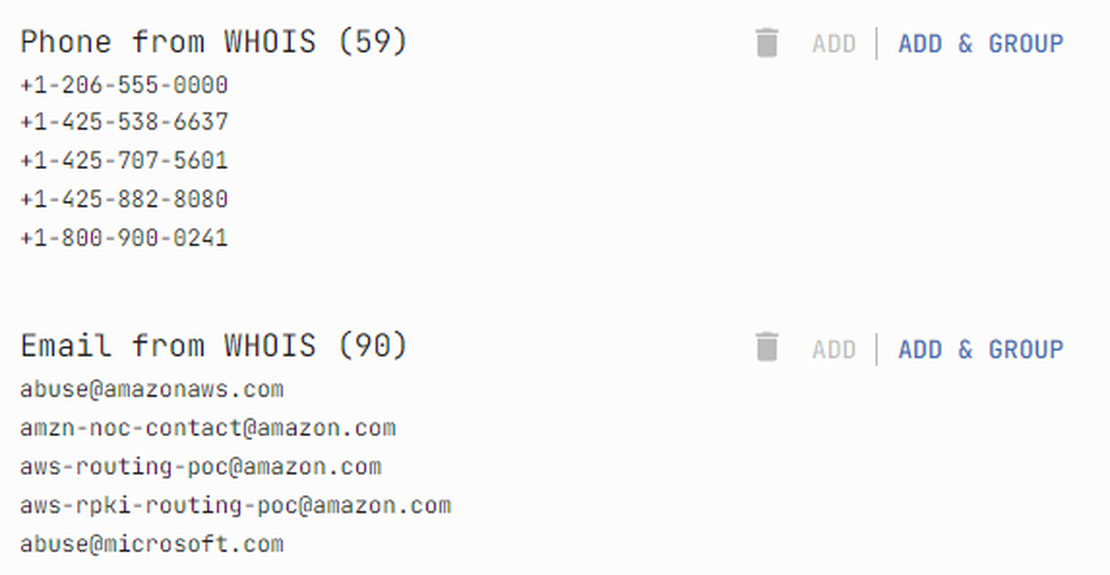
Next, in the corresponding nodes, select the searches “For whom it is mailserver” and “For whom it is nameserver”.
Additionally, it’s important to consider reverse DNS lookups. This process helps identify domains associated with specific IP addresses through their A records.
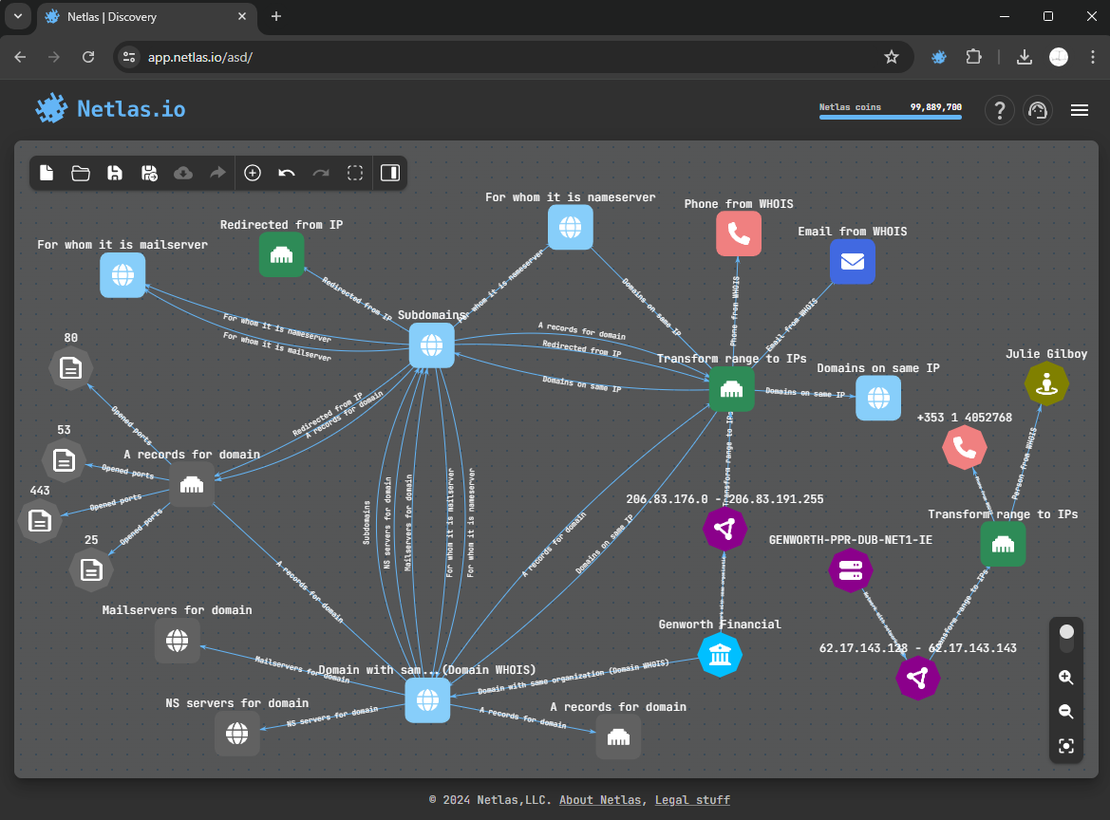
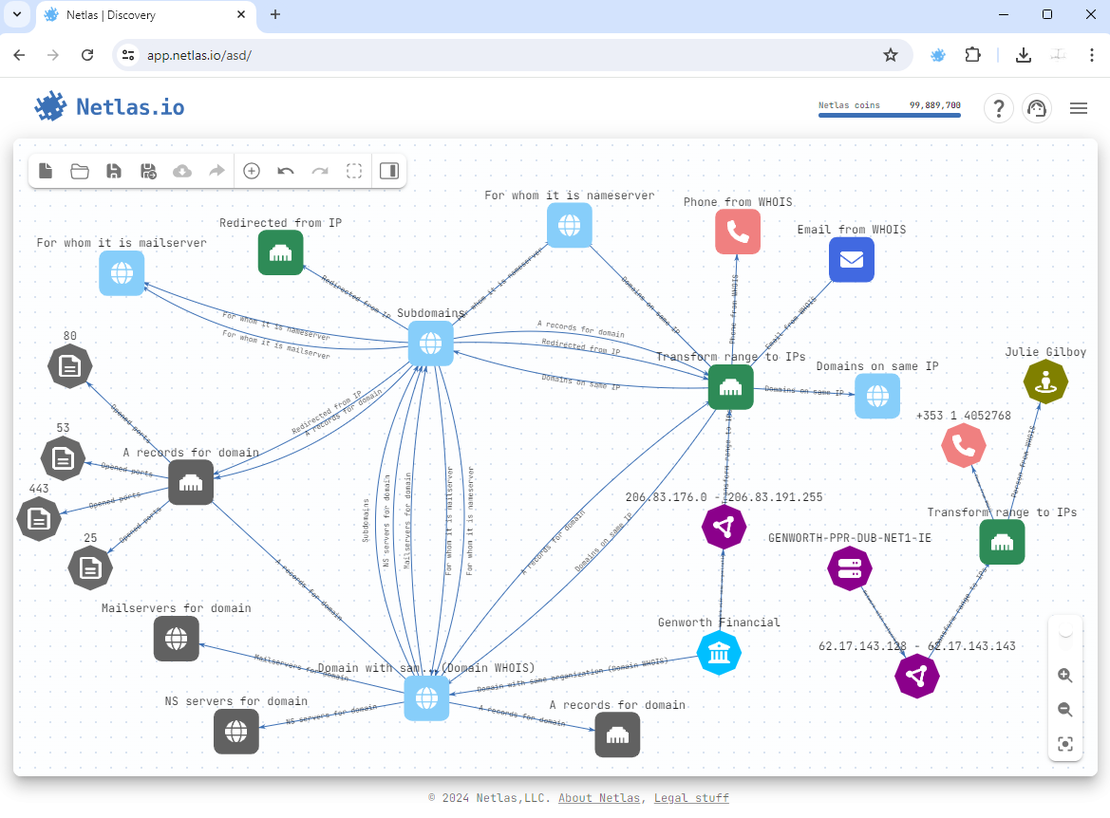
Here is the surface after making all DNS-related searches:
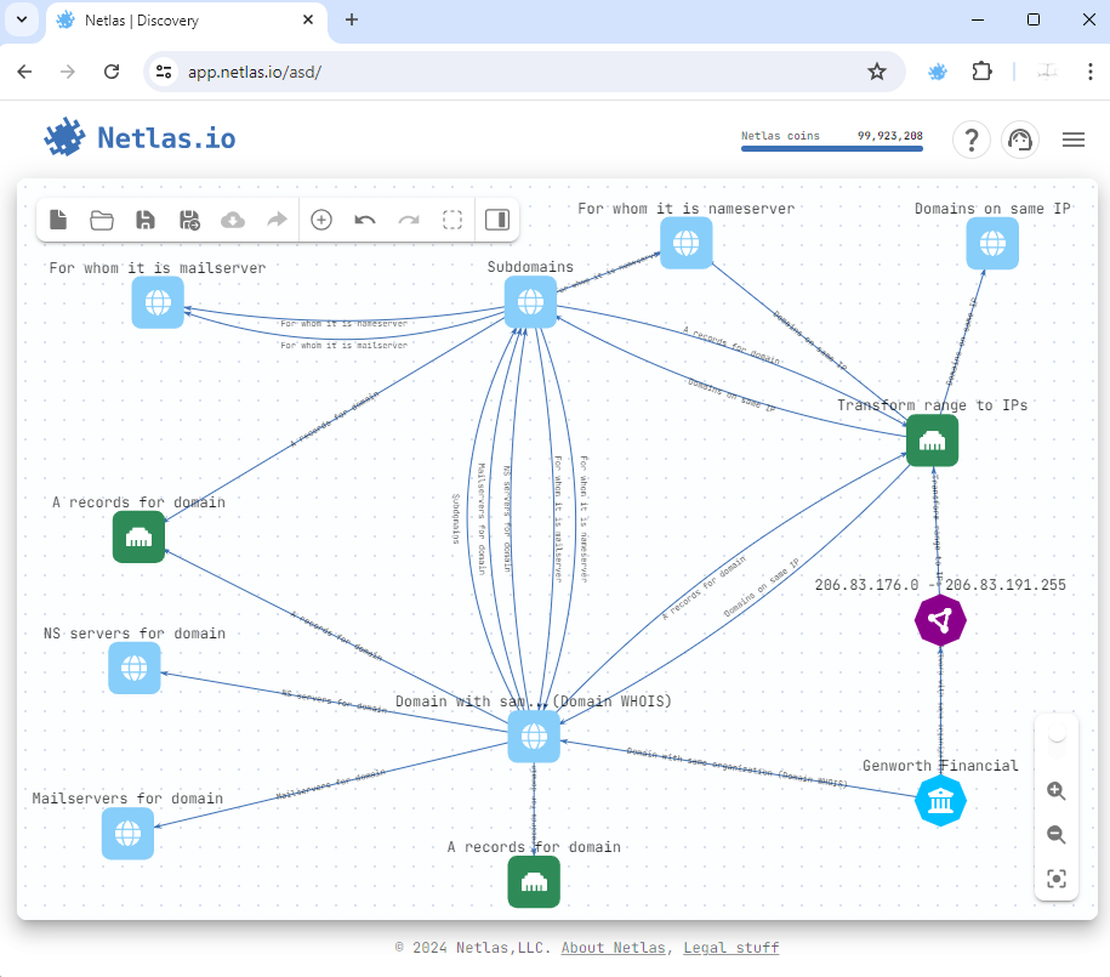
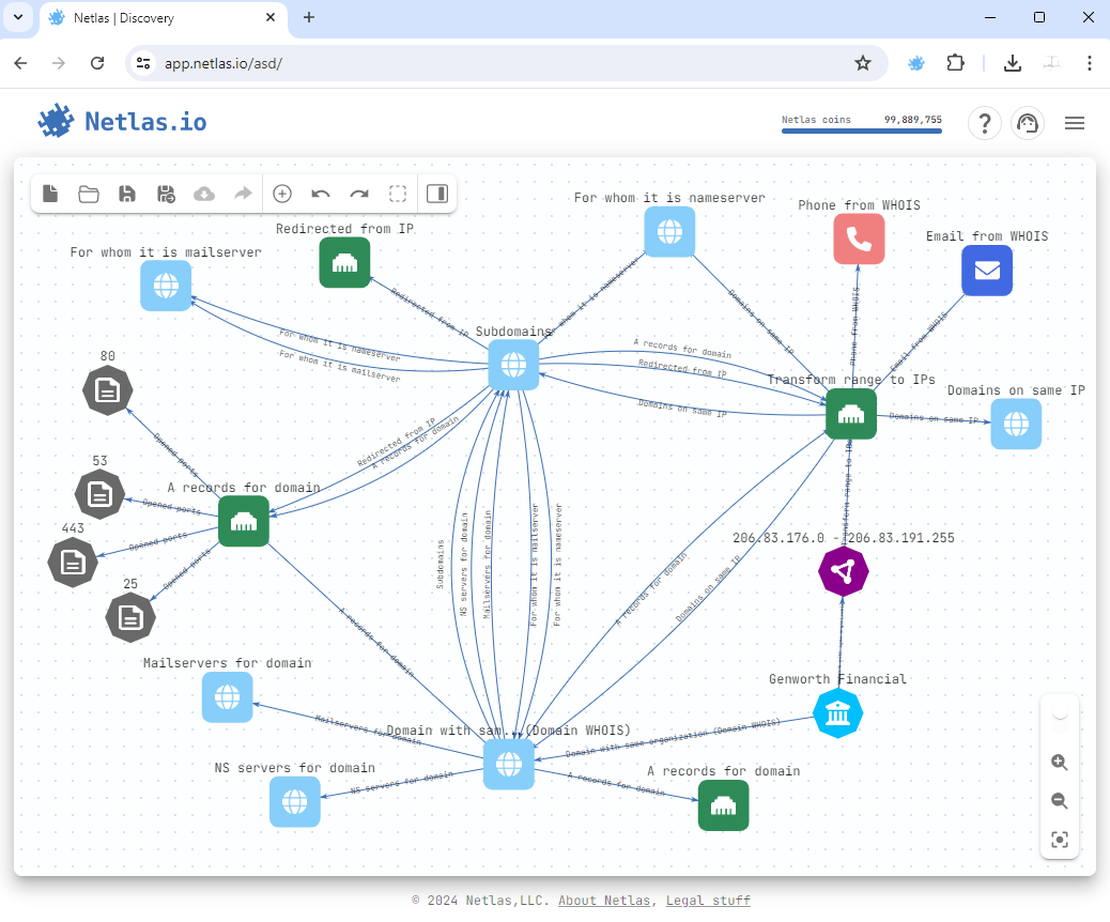
Step 5: Vertical Expansion
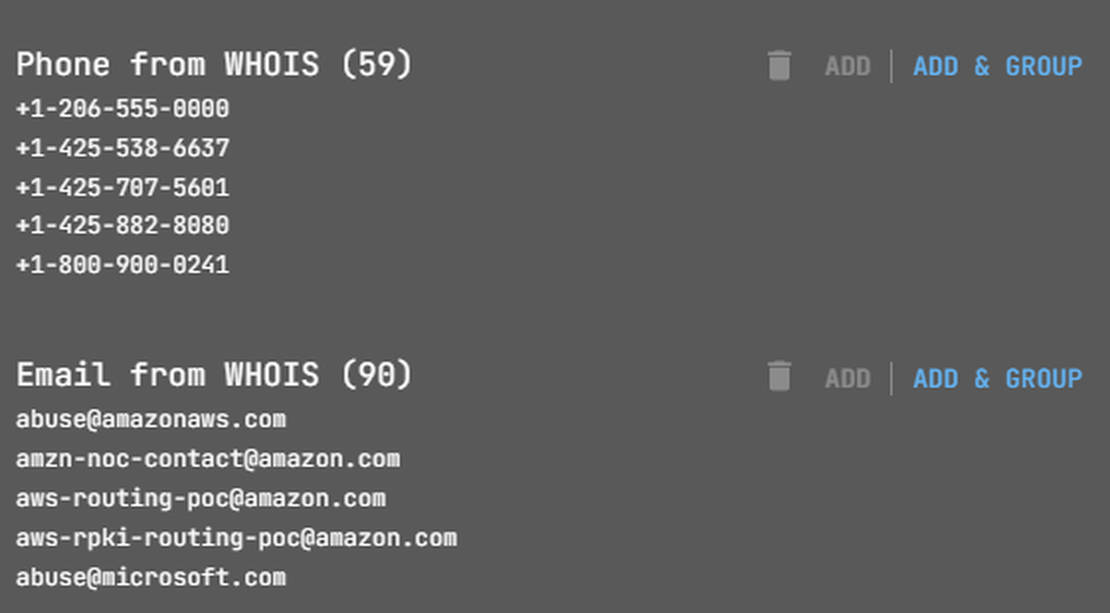
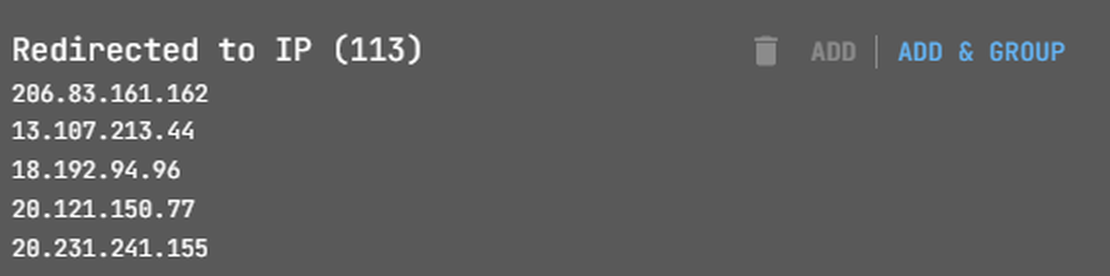
Vertical expansion involves discovering additional objects related to the found domains and IPs. Typically, the objects detected during vertical expansion are: subdomains, open ports, contacts, and redirects.


Step 6: Results Analysis
After gathering enough objects, analyze which ones truly belong to the Attack Surface. Exclude externally hosted resources, as they are not directly part of the target.
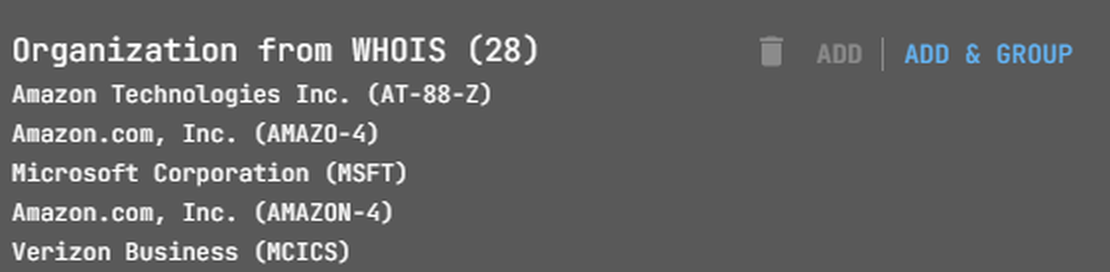
In the Netlas Attack Surface Discovery Tool, verify server ownership by checking “AS Name” and “Organization from WHOIS” from any node.
Some nodes may represent third-party hosts. Exclude them from the Attack Surface. Simply right-click on the node and select the “Exclude node” option. In the future, these objects can be hidden from the graph and will not be included in the file if you choose to download the entire surface.
Step 7: Unlinked Resources
The situation in which some resources are located on third-party hosting and are not linked to the rest of the attack surface is quite common. Companies often separate critical infrastructure from their main surface. In the final step, explore options to detect it.
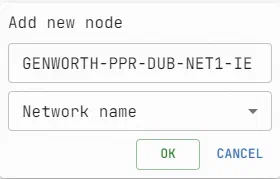
If the company’s name is known, locate networks associated with it using the Netlas IP WHOIS Tool.
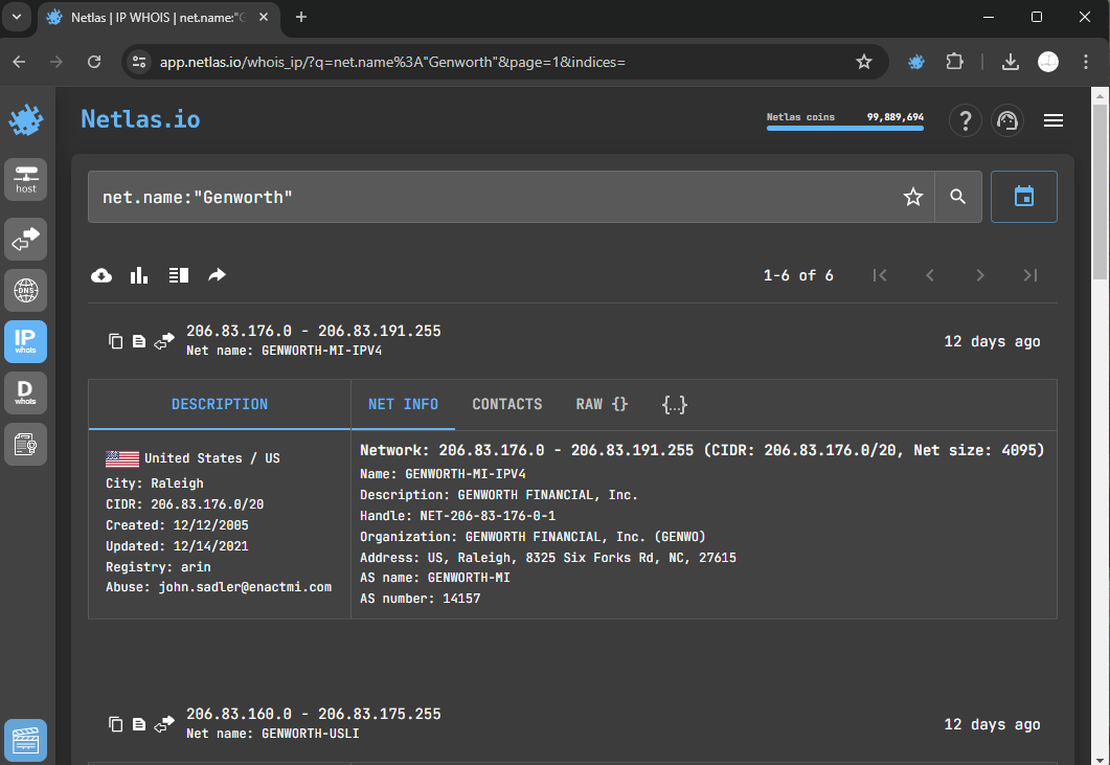
Discover any additional subnetworks that were initially hidden during reconnaissance. Manually add them to the Discovery Tool.
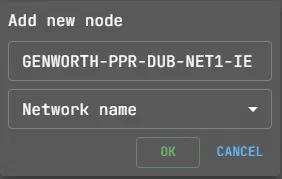
Conduct searches from these new nodes. New IP address lists will appear on the graph, showing resources on the company’s infrastructure, not external servers. These are part of the Attack Surface.
The final Attack Surface will look something like this:
Conclusion
With these steps, the main phase of Attack Surface Discovery is complete. Continue iterating through these steps to include all relevant objects. You can download the Attack Surface as a file for use with nmap or another scanner by clicking the button on the top panel.
Both the Netlas Search Tools and the Discovery Tool use the same data, but the Discovery Tool searches only the most relevant data, while the other gives accesses to historical data. On the other hand, the Netlas Discovery Tool simplifies identifying connections and visualizing the surface, making navigation easier for specialists.
The methods shown here are just the beginning. For example, you can find connections between sites using a favicon or a Google tag. The Netlas Responses Search Tool can help with this.